The Process for Asphalt Pavement Installation

When it comes to paving surfaces like driveways, parking lots, or roads, asphalt is a popular choice due to its durability, cost-effectiveness, and ease of installation. If you're considering asphalt pavement for your property, it's essential to understand the installation process to ensure a smooth and long-lasting result. Here's a step-by-step guide to the asphalt pavement installation process:
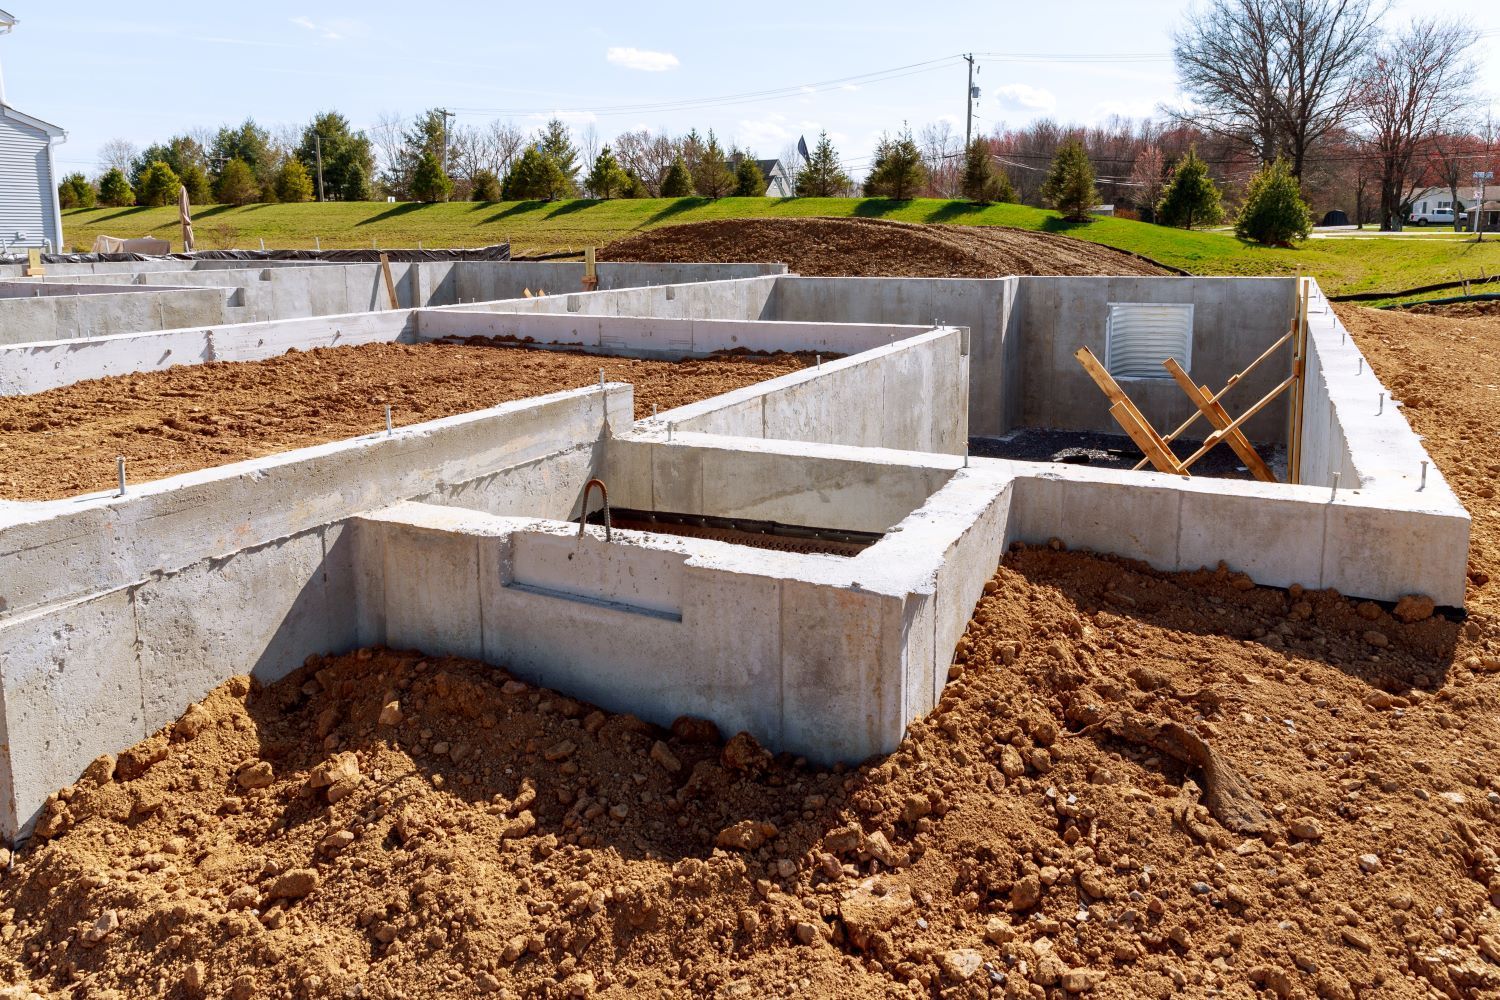
1. Site Preparation:
The first step in asphalt pavement installation is preparing the site. This involves clearing the area of any vegetation, debris, or existing pavement. The ground is then graded and leveled to ensure proper drainage and a smooth surface for the asphalt to be laid.
2. Subgrade Preparation:
Once the site is cleared, the subgrade preparation begins. The subgrade is the native soil beneath the pavement, and it must be properly compacted to provide a stable foundation for the asphalt. Compaction equipment such as rollers or compactors is used to achieve the desired density and strength.
3. Aggregate Base Installation:
Next, a layer of aggregate base material is spread and compacted over the prepared subgrade. This base layer helps to further stabilize the pavement and provides a smooth surface for the asphalt to be applied. The thickness of the aggregate base layer will depend on the specific requirements of the project.
4. Asphalt Mix Production:
The asphalt mix is produced at an asphalt plant according to the project specifications. The mix is typically composed of aggregate materials such as gravel, sand, and stone, bound together by a petroleum-based binder known as asphalt cement. The asphalt mix is transported to the job site in trucks and kept hot until it is ready to be applied.
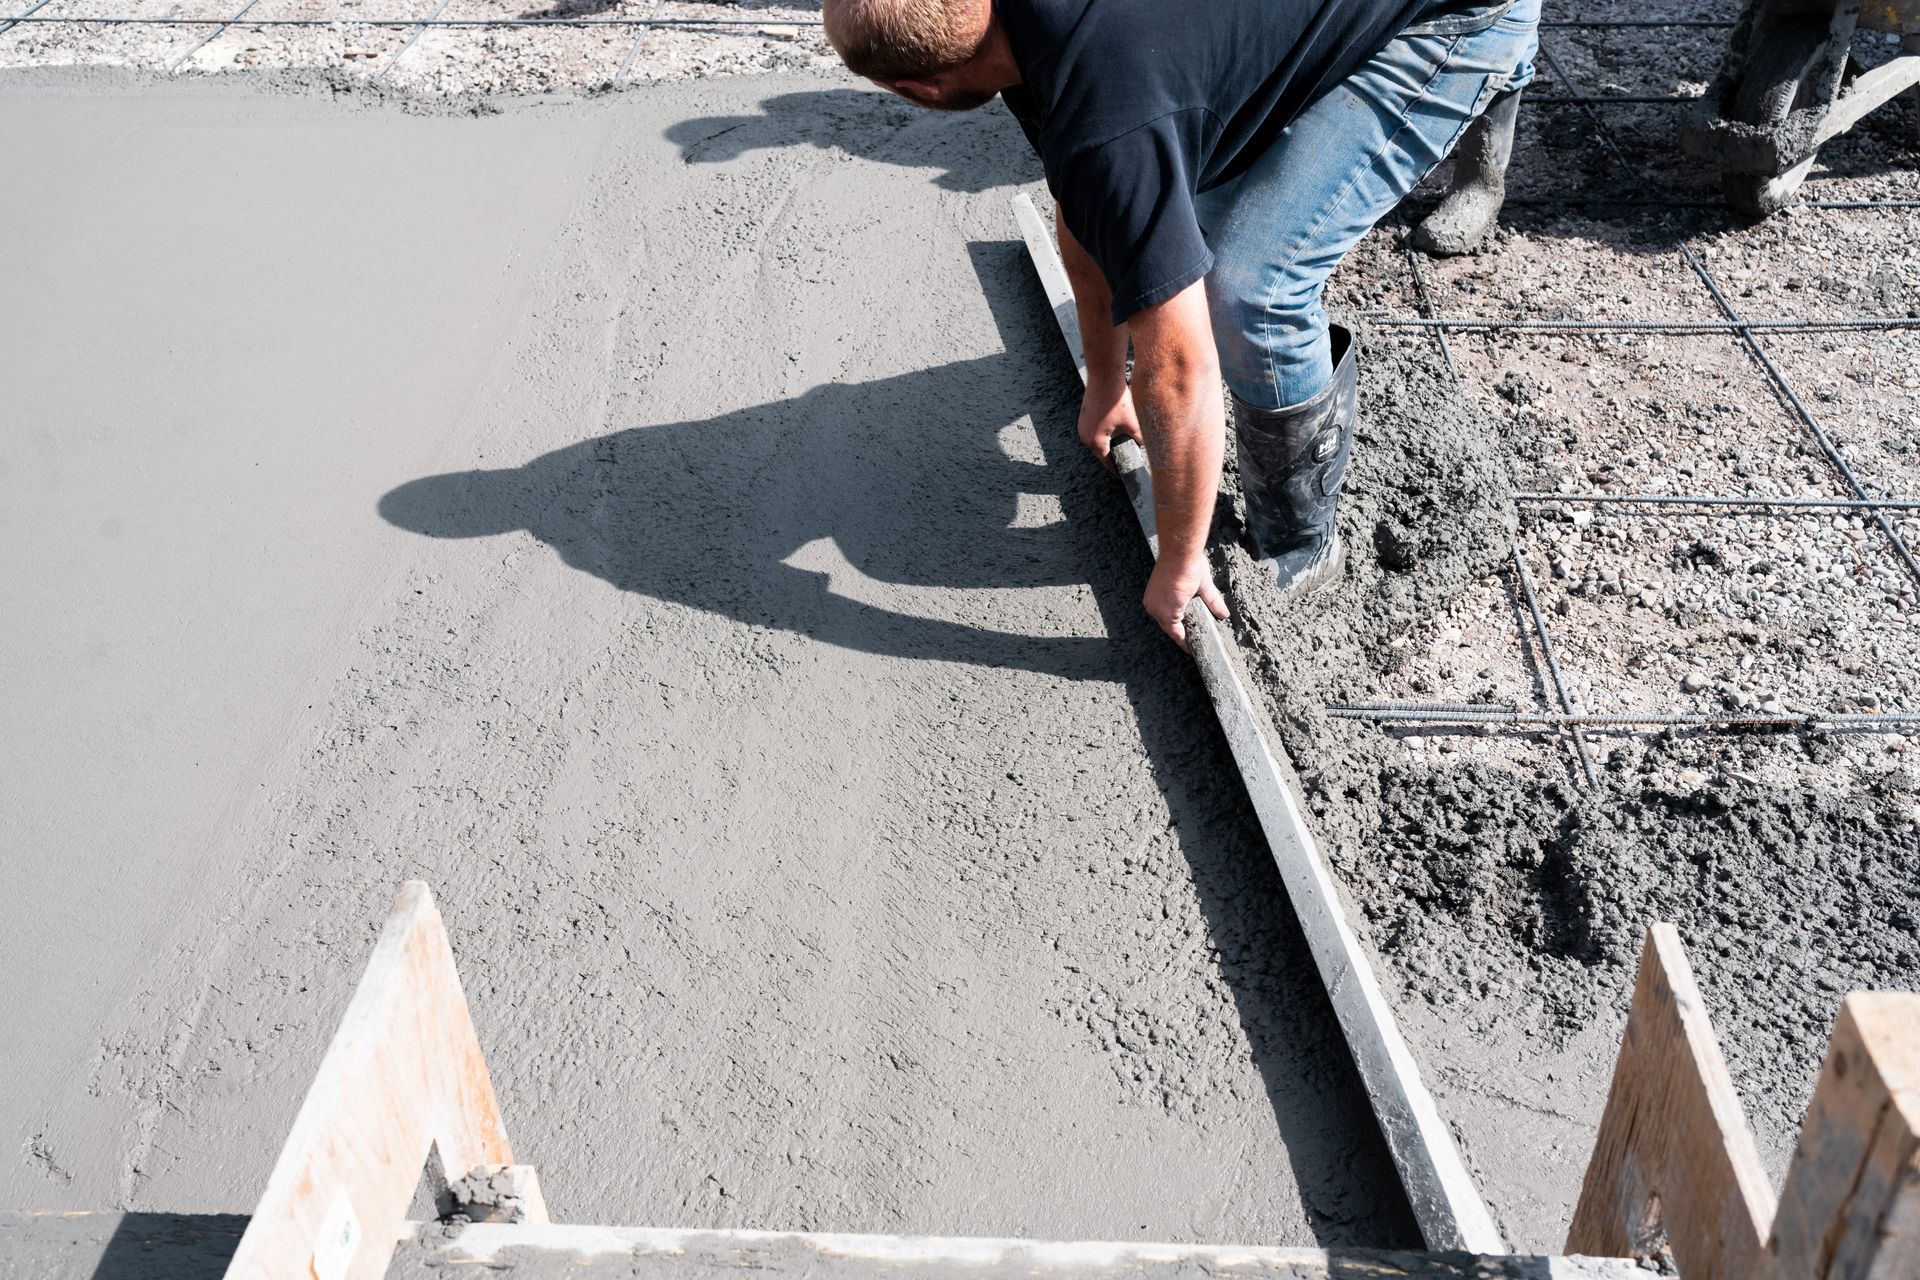
5. Asphalt Application:
Once the aggregate base is in place and compacted, the asphalt mix is applied to the surface using specialized paving equipment. The asphalt is spread evenly across the prepared area and then compacted using rollers to achieve the desired thickness and density. This process may need to be repeated several times to ensure a smooth and uniform surface.
6. Compaction and Finishing:
After the asphalt is applied, it is compacted once again to further consolidate the material and remove any air voids. This compaction process is crucial for ensuring the strength and durability of the pavement. Once compacted, the asphalt surface is smoothed and finished to provide a clean and attractive appearance.
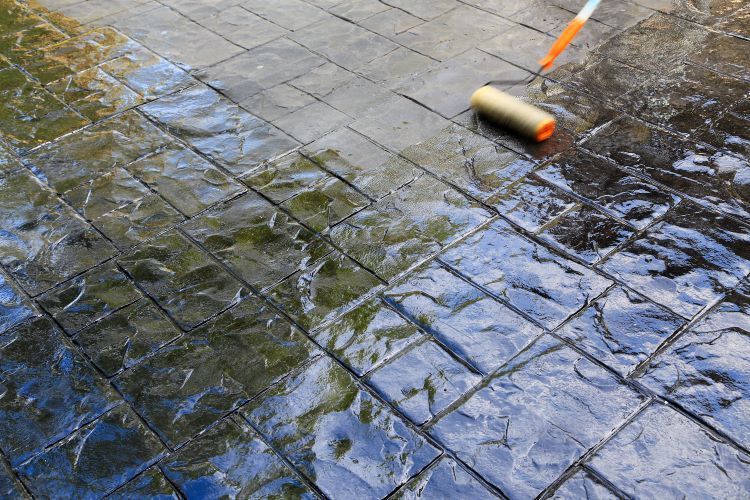
7. Curing and Sealcoating:
Finally, the newly paved asphalt surface is allowed to cure and harden before being opened to traffic. Depending on the weather conditions, this curing process may take several days. Once fully cured, a sealcoat may be applied to protect the asphalt from water damage, UV radiation, and other environmental factors, extending its lifespan and maintaining its appearance.
Conclusion:
Asphalt pavement installation is a complex process that requires careful planning, preparation, and execution. By following these steps and working with experienced professionals like Concrete Contractors London, you can ensure a high-quality asphalt pavement that will withstand the test of time and provide years of reliable service. Whether you're paving a driveway, parking lot, or roadway, asphalt offers a durable and cost-effective solution for all your surfacing needs.