How to Prepare the Ground for Concrete Sidewalk Installation

Concrete sidewalks are a durable, attractive, and long-lasting feature that adds both functionality and curb appeal to any property. However, the key to ensuring your sidewalk stands the test of time lies in the proper preparation of the ground before pouring the concrete. A poorly prepared base can lead to uneven settling, cracks, and other issues that can shorten the lifespan of your sidewalk.
In this article, we’ll take a deep dive into the essential steps involved in preparing the ground for concrete sidewalk installation. Whether you’re planning a new project or upgrading an existing walkway, these foundational steps will ensure your sidewalk remains solid and functional for years to come.
Step 1: Planning and Measuring the Sidewalk Area
The first step in preparing the ground for a concrete sidewalk is planning and measuring. Start by identifying the location of the sidewalk and marking out its path using stakes and string lines. This outline helps you visualize the layout, determine the length and width of the sidewalk, and ensure that it fits the landscape's overall design.
Key Considerations:
- Slope and Drainage: It’s essential to plan for proper drainage. Sidewalks should have a slight slope (about 1/4 inch per foot) away from structures to prevent water pooling and damage.
- Width: Residential sidewalks typically range from 3 to 5 feet in width, depending on the expected foot traffic.
- Path Shape: Straight paths are easier to install, but curved designs can add aesthetic appeal to your property.
Once the layout is finalized, mark the edges of the sidewalk with stakes and string lines to serve as a guide for the next steps.
Step 2: Excavation
Excavation is a critical step in preparing the ground for a concrete sidewalk. It involves removing the top layer of soil, rocks, roots, and debris to create a stable base for the concrete.
How to Excavate:
- Depth: Dig to a depth of about 6 to 8 inches. This allows space for both the compacted base material and the concrete slab, ensuring the sidewalk is properly supported.
- Remove Obstacles: Clear out any roots, large rocks, or debris that could interfere with the stability of the sidewalk.
- Use of Tools: Depending on the size of the project, you can use a shovel for smaller areas or heavy machinery like a mini-excavator for larger projects.
The goal of excavation is to create a level and uniform area where the sidewalk will be installed.
Step 3: Compaction of the Soil
Once the area is excavated, the next step is compacting the soil. Properly compacted soil prevents the concrete from settling unevenly, which can cause cracks or shifting over time.
Tools for Compaction:
- Hand Tamper: For small projects or areas, a hand tamper can be used to manually compact the soil.
- Plate Compactor: For larger areas, a mechanical plate compactor is recommended. It provides a more uniform and efficient compaction process.
Ensure that the soil is compacted until it is firm and level. If the ground is too soft, it may need additional compaction or stabilization.
Step 4: Installing a Gravel Base
After compaction, a gravel base is installed to provide a stable foundation for the concrete. The gravel allows for better drainage and helps distribute the weight of the concrete evenly across the surface.
Steps for Installing the Gravel Base:
- Type of Gravel: Crushed stone or gravel with a diameter of 3/4 inches is ideal for a solid base.
- Depth: Spread about 4 to 6 inches of gravel evenly across the excavated area.
- Compaction: After spreading the gravel, compact it using a plate compactor to create a firm base. This step prevents future settling and ensures that the sidewalk will remain level.
Compacting the gravel base is as important as compacting the soil. It eliminates air pockets and provides a solid, well-draining surface for the concrete.
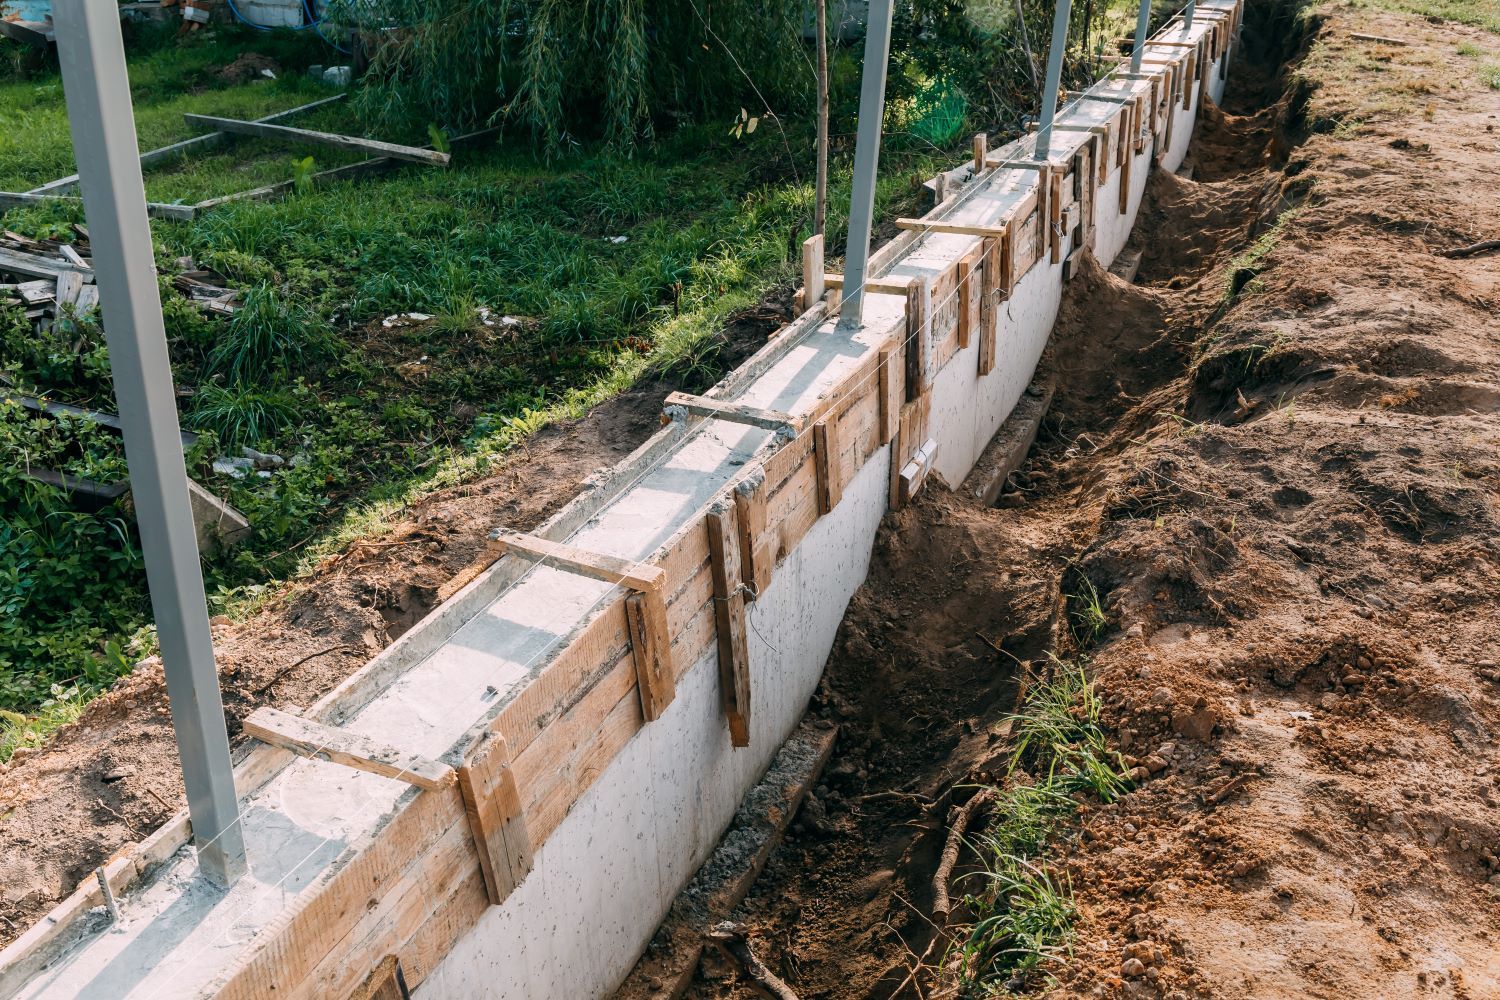
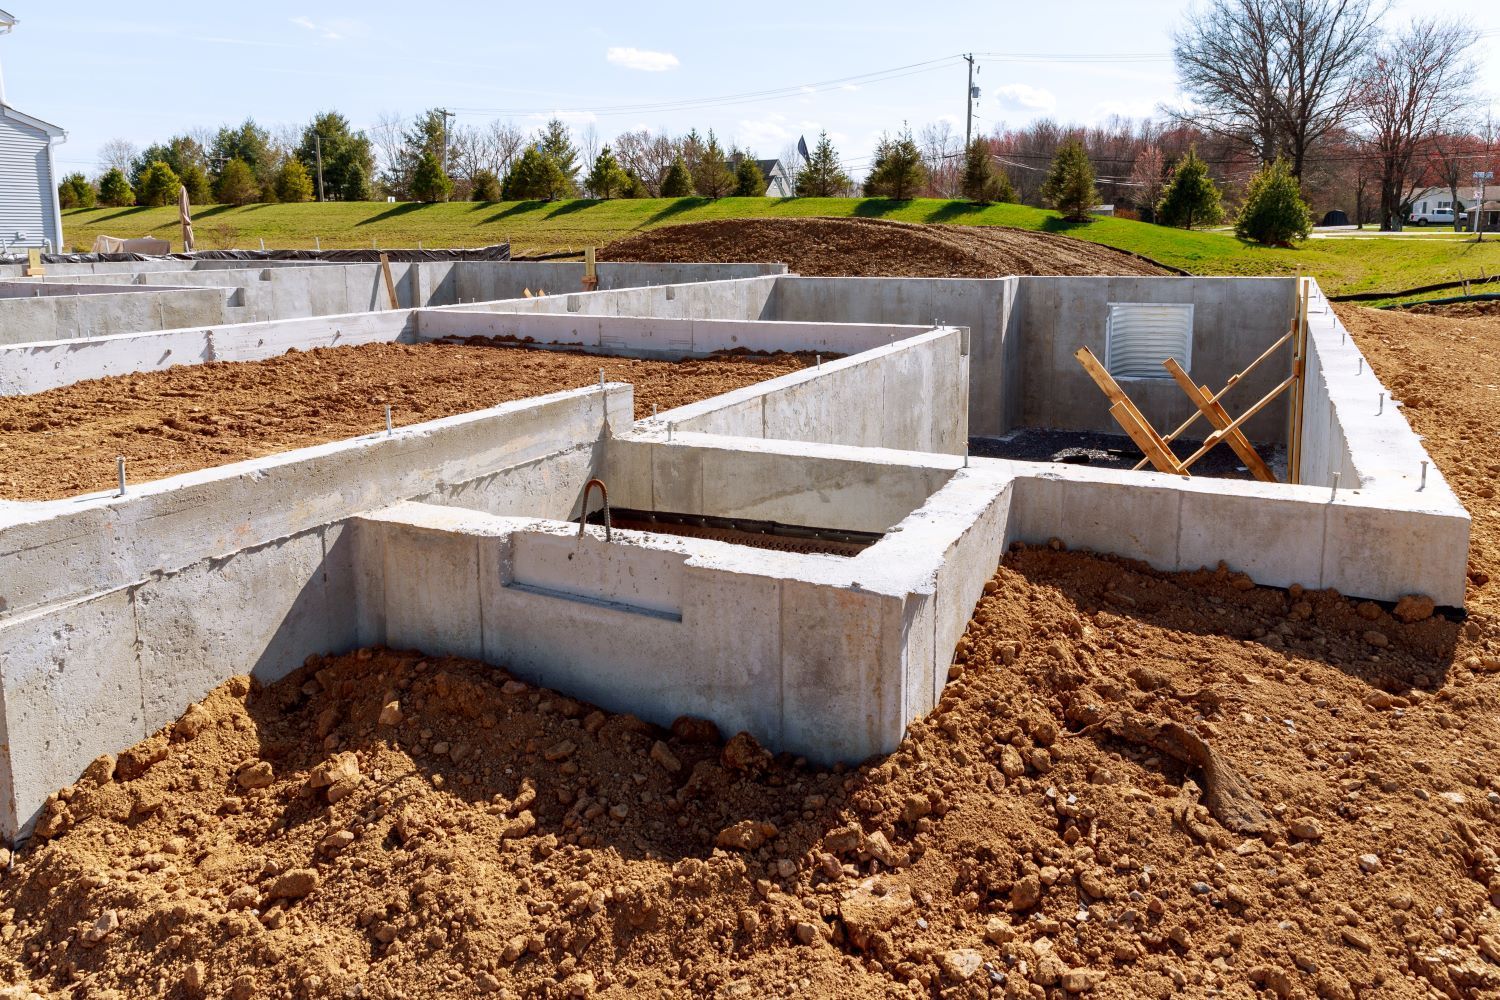
Step 5: Installing Forms
Forms are temporary barriers made of wood or metal that hold the concrete in place as it sets. They also help create clean, defined edges for the sidewalk.
Installing the Forms:
- Materials: Use 2x4 wooden boards or flexible metal forms depending on whether your sidewalk is straight or curved.
- Anchoring: Secure the forms with stakes placed every 3 to 4 feet along the perimeter of the sidewalk. Make sure the forms are level and properly aligned with your string line guide.
- Elevation Check: Double-check the slope of the forms to ensure proper drainage. The top of the form should match the desired height of the finished concrete surface.
The forms are critical in shaping the concrete and ensuring the sidewalk looks professional and consistent.
Step 6: Adding Reinforcement
For added strength, especially in areas prone to heavy foot traffic or soil movement, reinforcement may be necessary. Steel rebar or wire mesh can be embedded within the concrete to enhance its structural integrity.
Types of Reinforcement:
- Rebar: Steel rods placed horizontally across the formwork help prevent cracks caused by movement or settling.
- Wire Mesh: A metal grid laid over the gravel base offers additional support for the concrete, distributing weight evenly.
While not always required for small residential sidewalks, reinforcement adds durability to the concrete, reducing the risk of cracking over time.
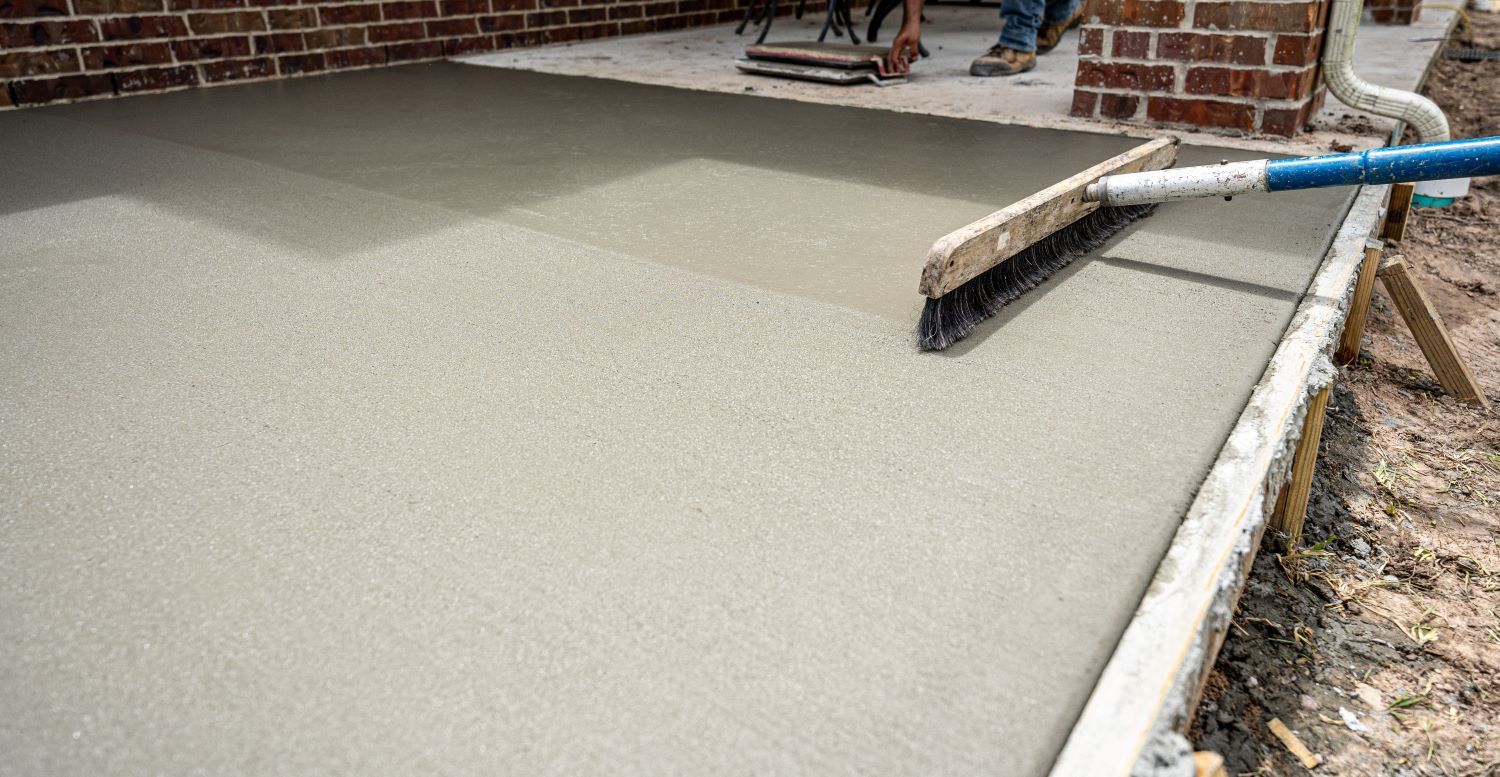
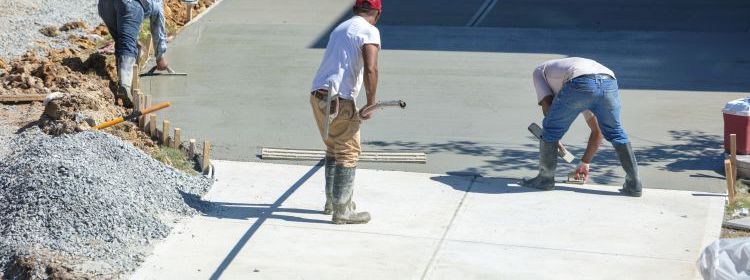
Step 7: Preparing for the Concrete Pour
With the ground fully prepared, gravel compacted, and forms installed, you’re now ready for the final step: pouring the concrete. Ensure that all necessary tools and materials are on hand, and make any last-minute adjustments to the forms or reinforcement before the concrete arrives.
Why Proper Ground Preparation is Crucial
Proper ground preparation is the foundation of a successful concrete sidewalk installation. Without these critical steps, the sidewalk could suffer from uneven settling, cracks, and a shorter lifespan. By thoroughly preparing the ground, you ensure that your concrete sidewalk remains level, durable, and resistant to weather and wear over time.
At Concrete Contractors London, we specialize in professional concrete sidewalk installations that are built to last. Our team has the experience and expertise to prepare the ground and pour high-quality concrete sidewalks that enhance the value and appearance of your property.
Conclusion
Preparing the ground for concrete sidewalk installation is a vital step that determines the long-term success of your project. Proper excavation, compaction, and the installation of a solid gravel base are essential for creating a smooth, durable, and long-lasting sidewalk. By following these steps, you’ll ensure that your concrete sidewalk withstands the test of time, offering both functionality and aesthetic appeal.
For expert concrete sidewalk installation in London, Ontario, Concrete Contractors London is here to help. Contact us today to learn more about our services and how we can bring your concrete project to life!